The Registration System of Szarvas Camp is available on the link: reg.szarvas.camp. You can access it through various browsers using your mobile phone or laptop.
Initial Page
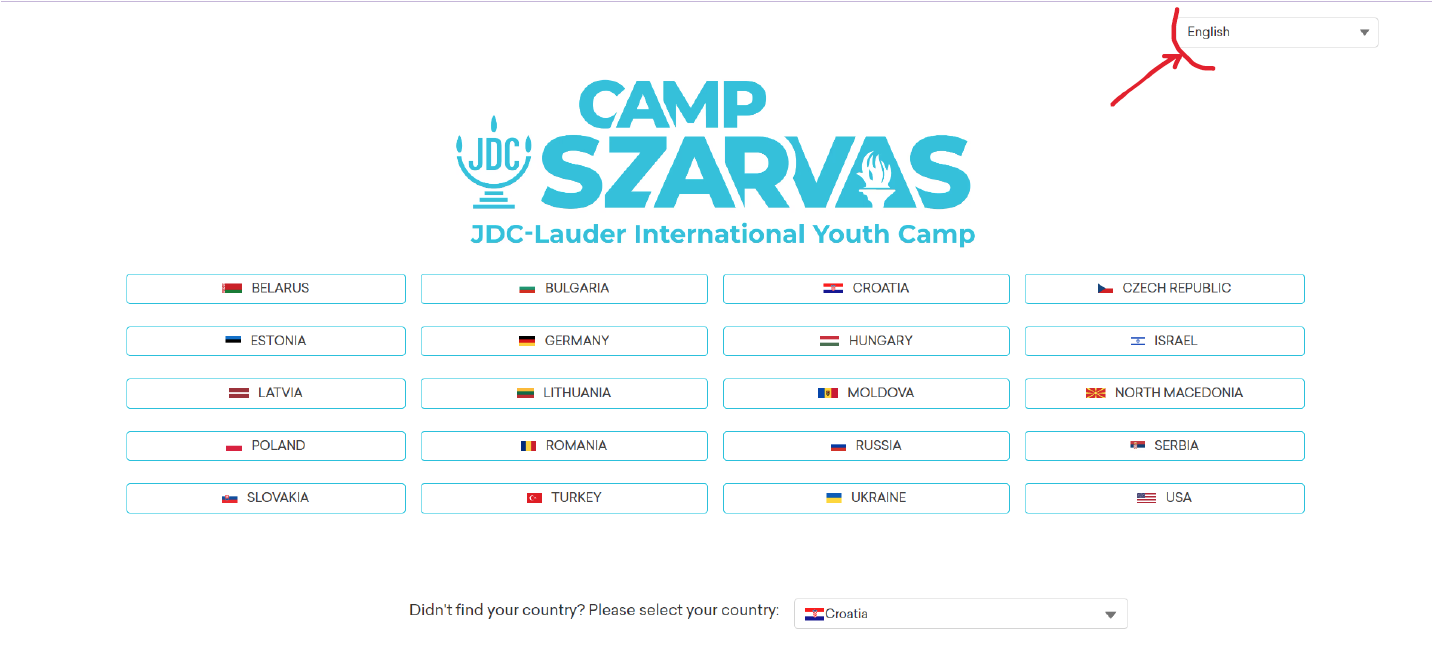
Initial Page is the first page you will see when you access the URL. This page consists of a Country selector where you can choose your own country from listed countries.
Note: You can choose the interface language in the top right corner, so you can go through the process in the language that suits you.
How to select country
Go to Initial Page
Navigate to Szarvas Camp portal by clicking the link reg.szarvas.camp.
Find your country
Every country is presented with small flag and a name.
Select the country
Click on the box of desired country.
If the country is not presented with a small flag and a name, select or
type a name of a different country in the field below.
After you select your country, you will be redirected to the Home Page where you will be able to register or sign in.
The home page has:
Language selector
You can choose the language in which all the information on the site is
displayed.
Country selector
Here you can see your previously selected country and change it later if you need to.
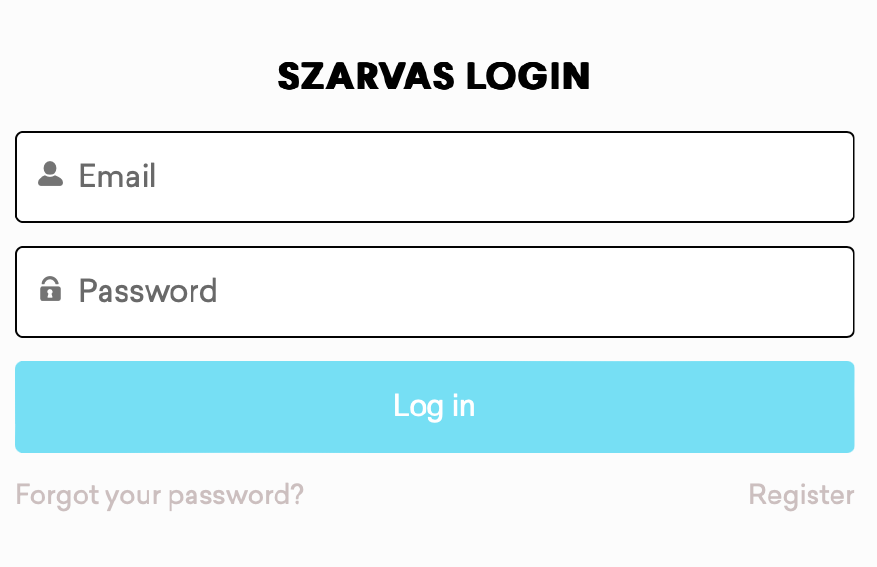
Login box
Here you can enter your already registered "User Name"and "Password".
Registration tab
Directs you to Registration page where you can create your account.
* Important: registering on the platform is not equivalent to applying for a session. During the registration you can create a user account and you can apply for an event at a later point.
Register and Create an account
On the Home Page click “Register” beneath the Log In button. You will be redirected to the User Registration page where you can fill in the form.
Note:
You will need to remember your Email and Password because you will be
using them every time you log in.
Your password must be at least 8 characters long and include
at least one letter,
one capital letter,
a number,
and a special character, e.g. # ! ~ ( ) _ : ; < > { } [ ].
You will need to check all the Checkboxes in order to proceed with your
registration.
Use correct email address because you will need to verify the account.
Verification
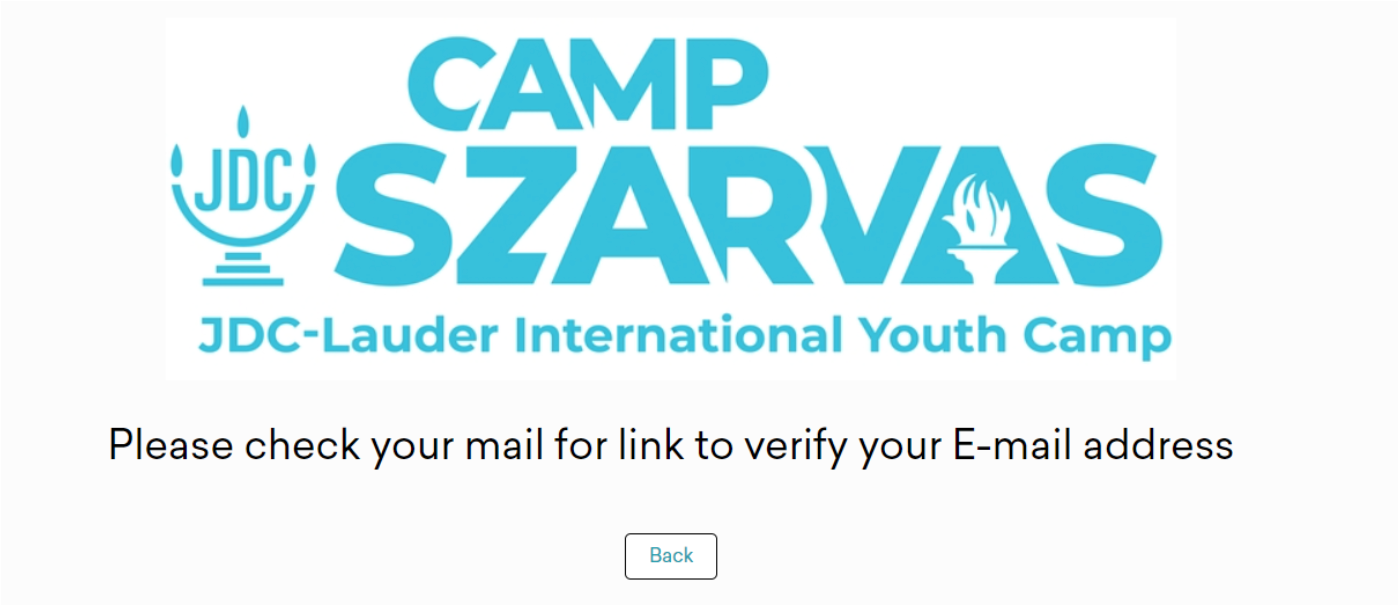
On the next page, you will see a message asking you to verify the email address you entered when you registered.
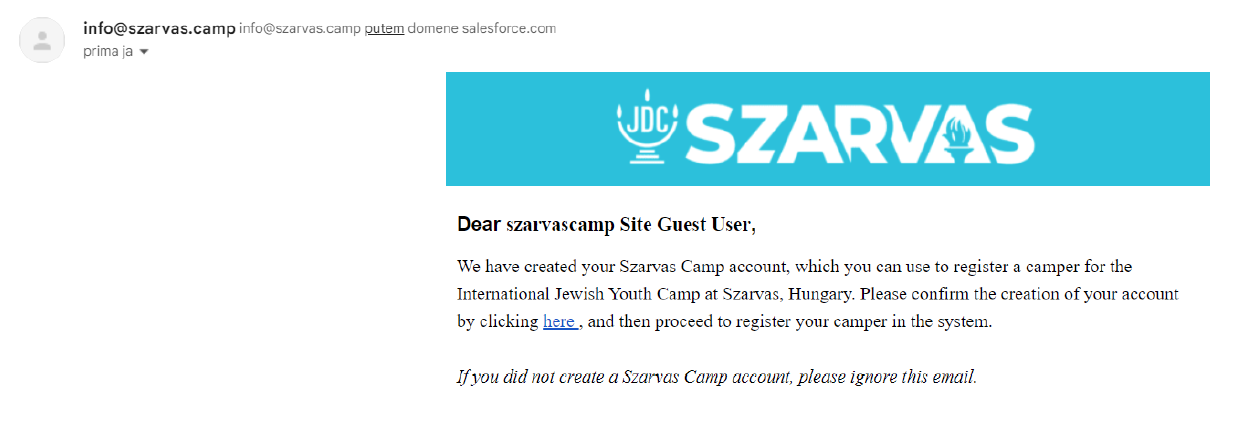
You should receive an email from info@szarvas.camp asking you to verify your account. If you don't find this email in your inbox, please wait a few minutes or check your Spam/Junk/Promotions folder.
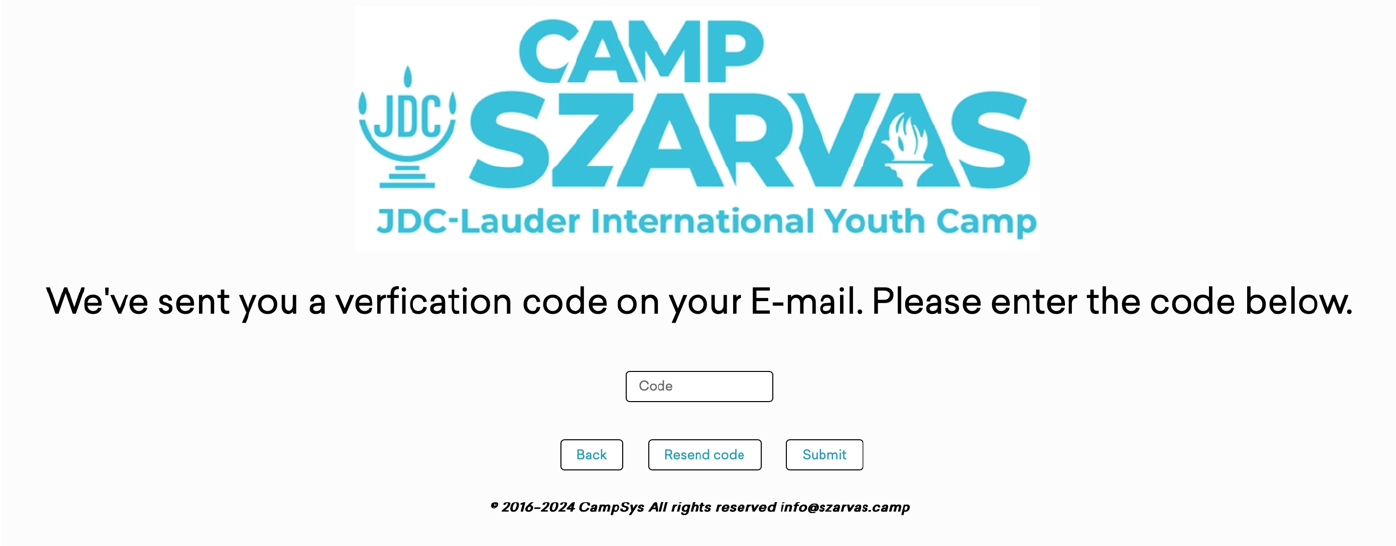
Click on the blue link “here” and you will be redirected to the new page where you will need to type the code to verify the account. This code will be automatically sent to your email address in a new email when you click on the blue link.
To activate your account, enter the verification code and click "Submit".
If you already have an account type your Email and Password in the Login box on the Home Page.
After clicking on the "Login" button, you will be asked to verify your identity.
Verification
As with your account registration, you will be asked to enter a verification code, which will be sent to your registered email address.
To log in to your account, enter the verification code and click "Submit".
Note:
The verification code will be requested at each login.
You will receive a new verification code for each new login to the email address you provided.
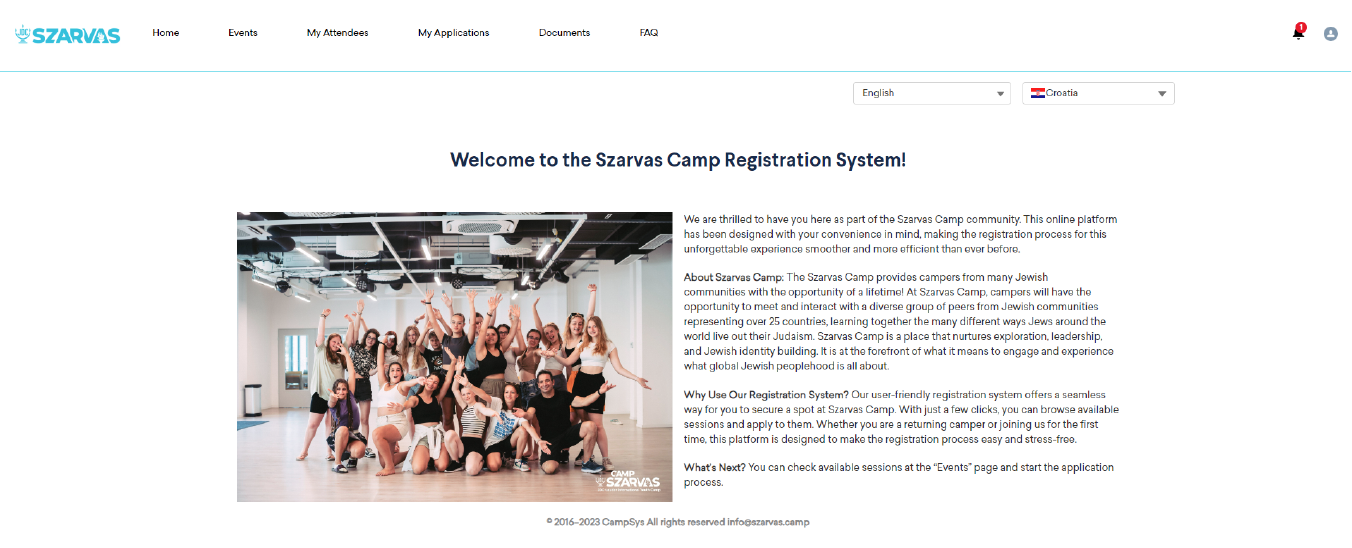
After the successful registration the Welcome Page is presented. Here you can apply for an event, add your attendees and many other things that will be explained below.
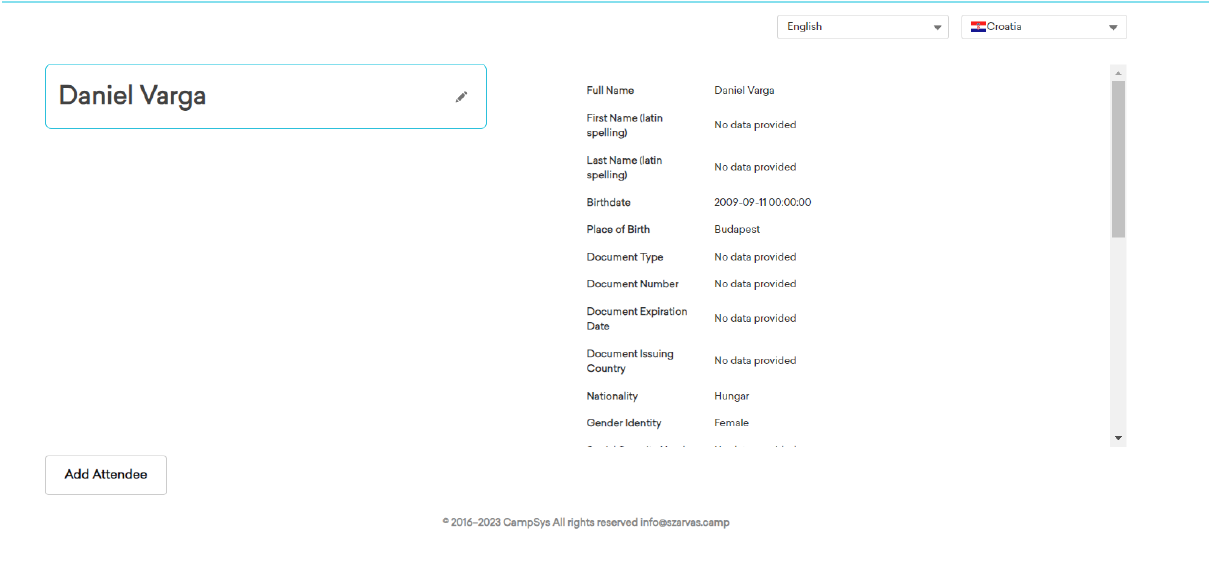
Add your Attendees
On the “Welcome Page” click on the “My Attendees” tab, you will be redirected to the new page where you will be able to add your attendees. Click the “Add Attendee” button on the bottom of the page and fill in the form with all necessary information and click the “Submit” button.
All the information about your Attendee will be presented on this page. You can also add more Attendees by clicking the “Add Attendee” button and submitting more forms.
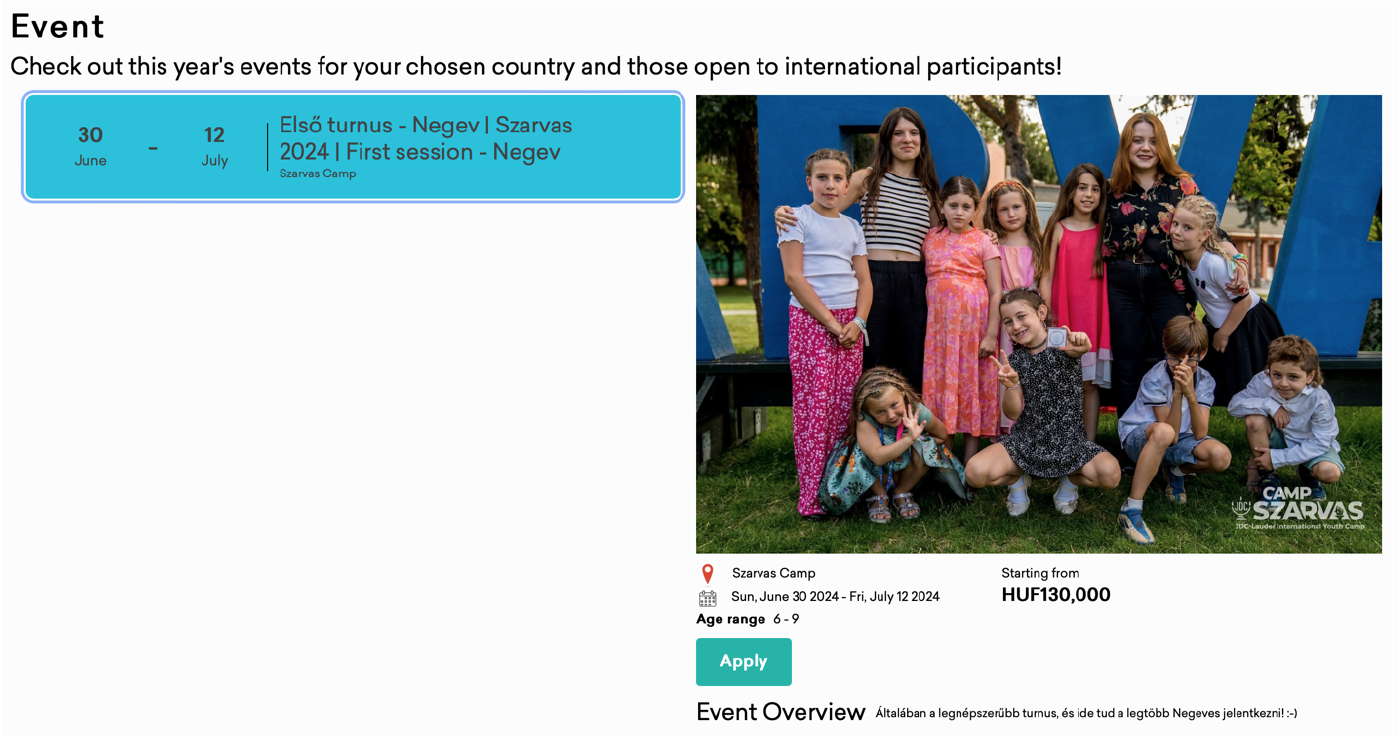
Apply for an Event
Clicking on the "Events" tab will take you to a new page where you can see the events that your campers can register for.
Check your selected country
All the Events are filtered accordingly to the selected country.
Select the Event
Click on the Event you want to attend and apply for it.
The “Apply” button located on the right side near the Event description.
Fill in the Application Form
Enter the additional information about your camper that you need to apply.
You will be asked to fill in several documents, such as "Medical form” and “Consent Form."
Submit these by clicking on the "Next" button.
You can upload additional Documents if requested.
Payment
If relevant in your region, for paying you can choose between Barion
and PayPal. Otherwise, you can pay in your Jewish community.
On the "My applications" page you will find the applications for your attendee. On the left side you can see the camper(s) and their event(s). On the right, you can see the information about the camper(s) associated with the application. Here you can modify the previously completed and signed "Medical Form", "Waiver form" and pay the event fee.
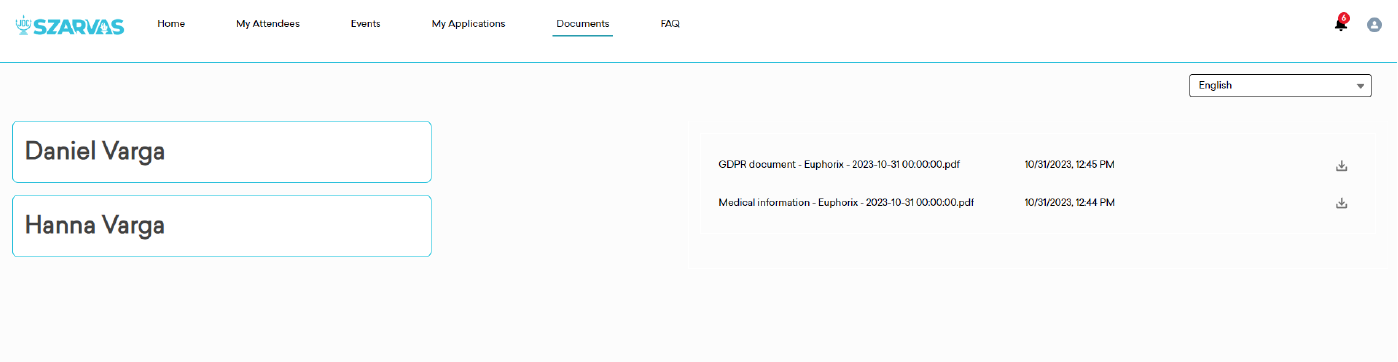
The "Documents" page contains all the forms (Medical, Waiver) that you have filled in, signed and approved. On the left side you can see all your campers, on the right side you have the possibility to view and download the corresponding forms.
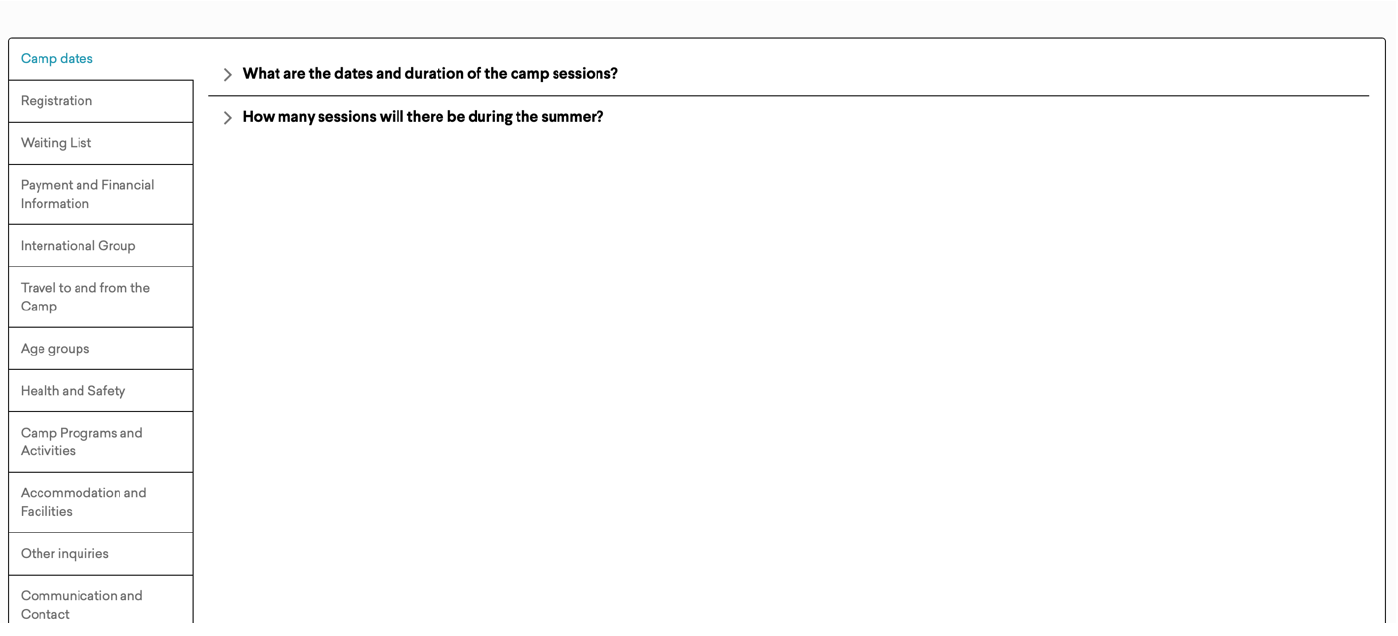
On this page are presented Frequently asked Questions with the corresponding answer. On the left, you can choose from a list of topics, sorted by category; The questions for each topic will appear on the right. You can read the answers by clicking on each question.
Edit Profile information
To edit your profile information, select the small profile icon in the right corner. You will have two options in the dropdown that opens: "Profile" or "Log Out."
Select “Profile”
Click “Edit”
Find the edit button under the “Basic information.”
Edit the data.
Save changes.
Update profile picture
This is not a required action, but you can upload or edit the profile
picture at any time.
Click “Upload files” and then select the image you want to upload.
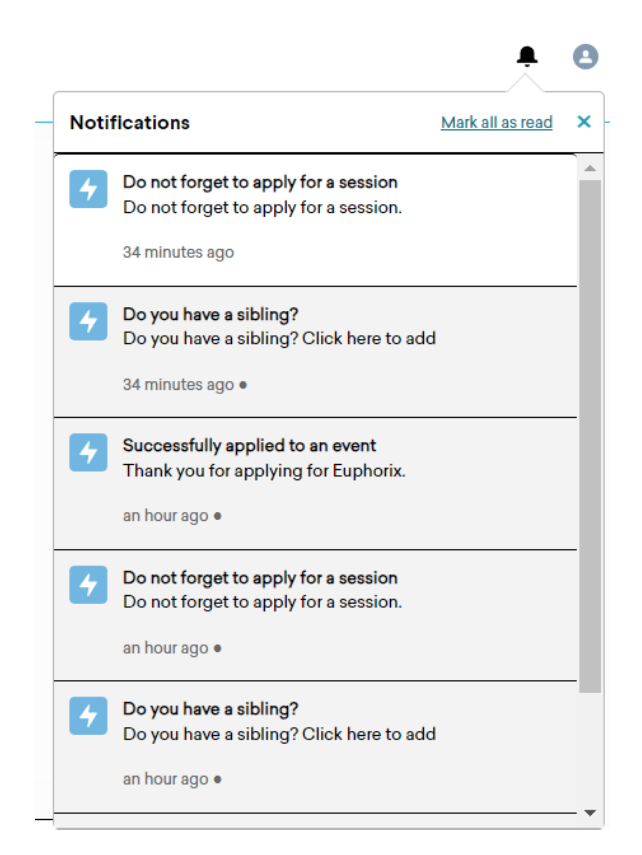
Here you will receive notifications about your campers, applications and other matters. A small red dot with a number will indicate this. You will find the "Notifications" icon in the top right corner.